Coloring with Markers: Techniques for Bold and Vibrant Art
Looking to take your coloring skills to the next level? Markers are a powerful tool for creating bold, vibrant artwork – but they require a little know-how to really shine.
In this beginner-friendly guide, we’ll explore the best coloring marker techniques for shading, blending, layering, and fixing common mistakes. Whether you’re using alcohol-based markers like Copic or budget-friendly water-based options, these tips will help you get professional-looking results from your coloring pages.
Let’s dive into the world of smooth blends, vivid color, and marker magic!
This post may contain affiliate links. If you click and make a purchase, I may earn a small commission – at no extra cost to you. I only recommend products I truly believe in that support creativity and stress relief.
Ready to level up your coloring skills? Learn how to get smooth blends, rich colors, and pro-level shading with just a handful of quality markers.
Choose the Right Markers
Not all markers are created equal – especially when it comes to adult coloring. The two most popular types are alcohol-based and water-based markers.
Alcohol markers (like Copic, Ohuhu, and Prismacolor) blend smoothly and create rich, layered effects. Water-based markers (like Crayola or Tombow) are better for light coloring and are more budget-friendly.
If you’re new to markers, start with a mid-range set of alcohol markers. Look for ones with dual tips (brush + chisel or fine point) for more flexibility. And always use marker-safe paper to avoid bleeding and pilling.
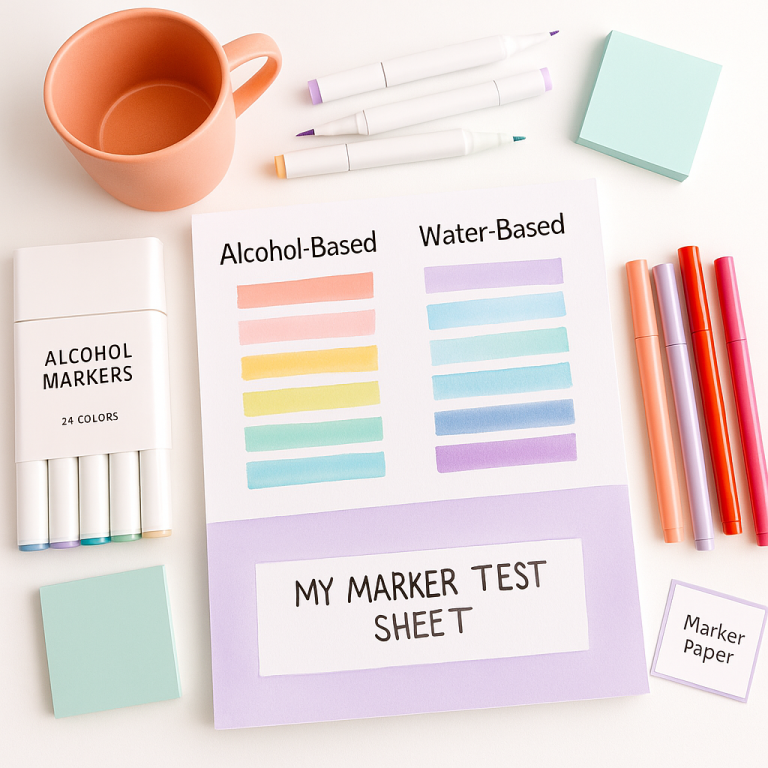
Alcohol-based markers give smoother blends and richer color, but they bleed more. Use thick, marker-safe paper to prevent damage to your coloring pages.
Layer for Saturation & Depth
One of the best things about coloring with markers is how beautifully they layer. Instead of pressing hard like with colored pencils, you can achieve rich, saturated color by applying multiple light layers.
Start with one coat, let it dry for a few seconds, then apply a second or third pass in the same direction. This helps avoid streaks and builds up deep, bold hues without damaging your paper.
For extra depth, try layering a darker shade of the same color along edges or shadows – it creates natural dimension with minimal effort.
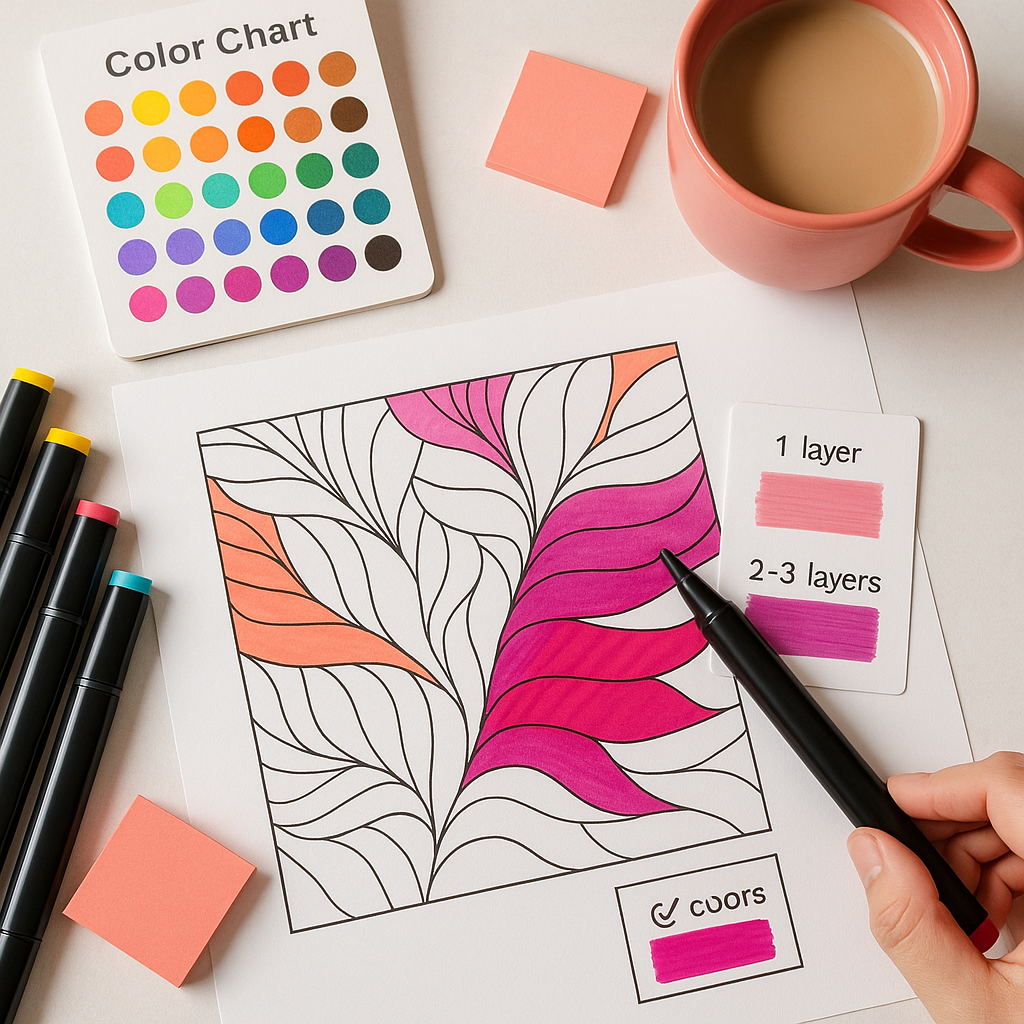
For smooth, even coverage, apply multiple light layers instead of coloring hard with one pass. Let each layer dry briefly to avoid streaks and warping.
Blend Like a Pro
Blending is where markers truly shine. With the right technique, you can create seamless color transitions, soft gradients, and natural shading – no brush required.
To blend alcohol-based markers, use similar shades (light to dark) and overlap them while the ink is still wet. Move in circular or feathered strokes for a smooth transition.
You can also use a colorless blender to lighten edges or soften harsh lines. For water-based markers, try blending with a damp brush or a water brush pen for a watercolor effect.
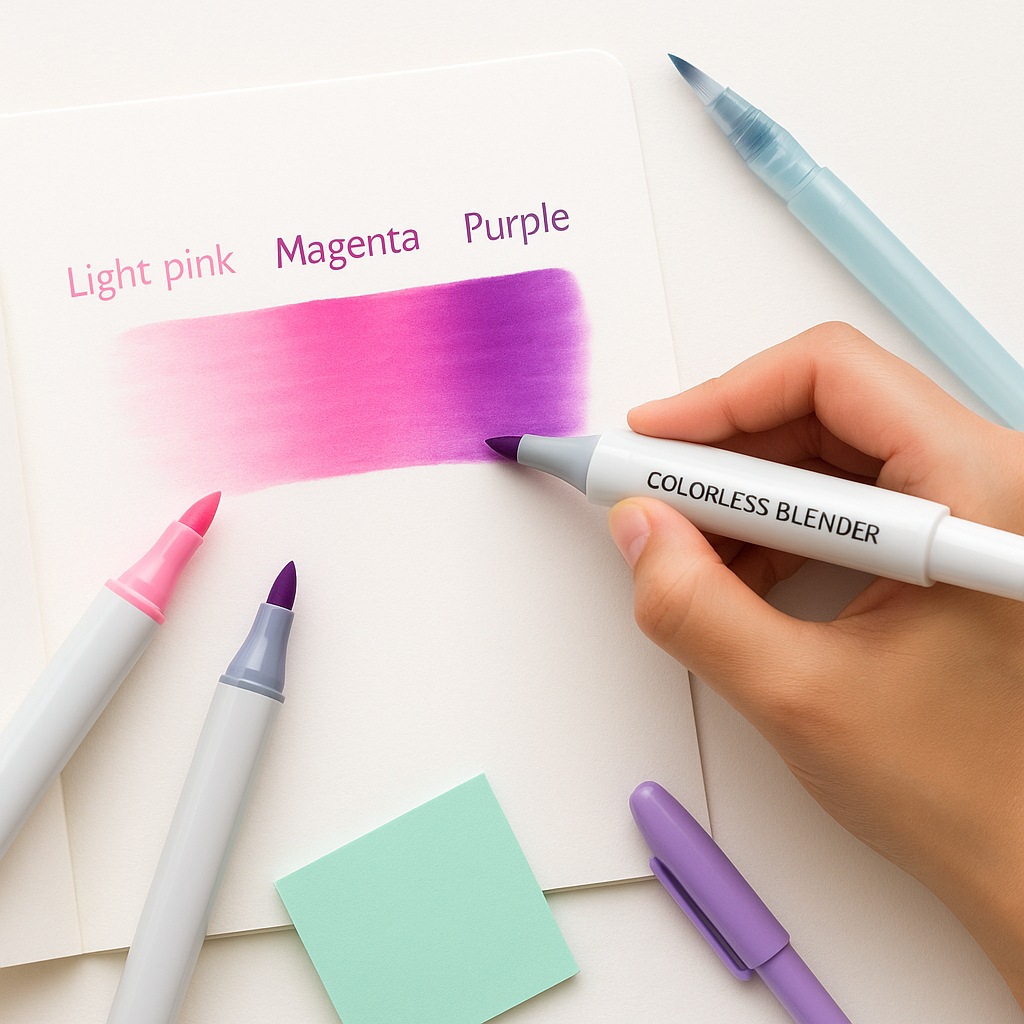
Blend while the ink is still wet! Alcohol markers blend best when colors overlap slightly while damp. For smoother fades, work from light to dark.
Use Strokes for Texture
Markers aren’t just for smooth fills – they’re amazing tools for creating texture and visual interest. By varying your stroke direction and pressure, you can mimic fur, feathers, fabric, or even wood grain. Try short, quick flicks for hair or fur. Use hatching or crosshatching for shading. Dashes, dots, and stippling are great for abstract textures and soft transitions.
The key is to let the texture enhance your design – not overwhelm it. Practice on scrap paper first to test how different strokes affect your outcome.
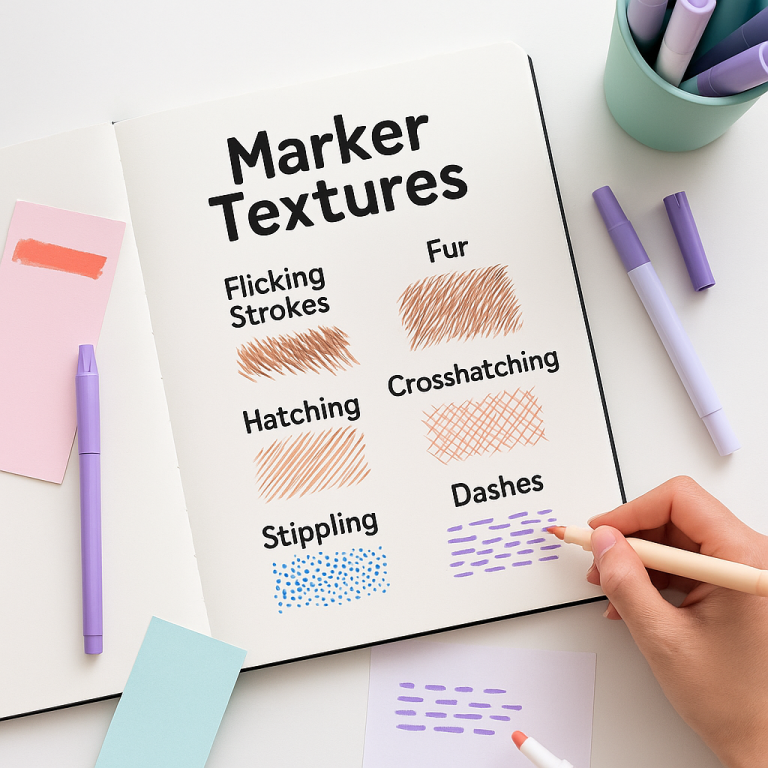
Want to add realistic fur or hair? Try flicking strokes with a light hand and build in layers. The key is direction and pressure—not speed.
Fix Mistakes (Without Starting Over)
Everyone makes coloring mistakes – bleed-outs, streaks, or going outside the lines. The good news? You don’t always need to start over.
A colorless blender can help push ink back into place or lighten a mistake. You can also use a white gel pen to cover small slip-ups or add highlight effects that disguise uneven areas.
For major mishaps, try incorporating texture or shading to hide it. And if all else fails – turn that mistake into a creative opportunity. Some of the best details come from “happy accidents.”
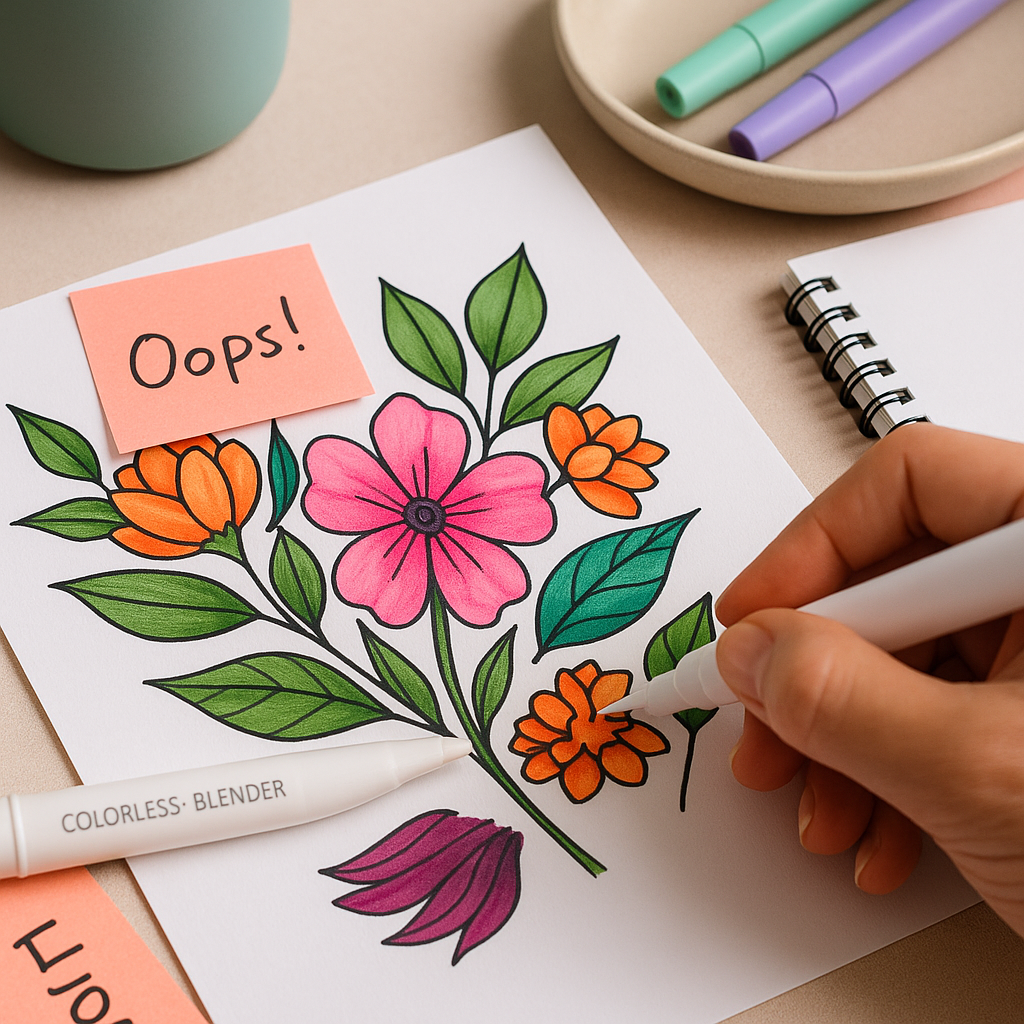
A white gel pen is your secret weapon for quick fixes. Use it to cover slips, redefine lines, or even add highlights that make your coloring pop.
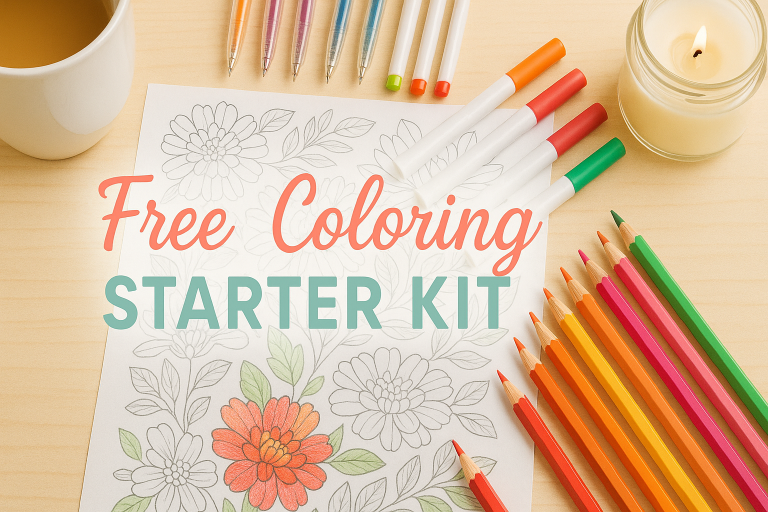
Final Thoughts + Free Download
Markers are a fun, bold, and expressive way to bring your coloring pages to life. Whether you’re layering rich colors, blending smooth gradients, or experimenting with textures, these techniques can help you unlock your full creative potential.
The best part? You don’t need a massive marker collection to make stunning art. Just a few good tools – and a bit of practice – can make your pages stand out like never before.
Want to try these techniques right now?
Download a free adult coloring starter kit with printable pages, test sheets, and bonus resources to practice all the marker techniques you just learned. Get your free kit here →