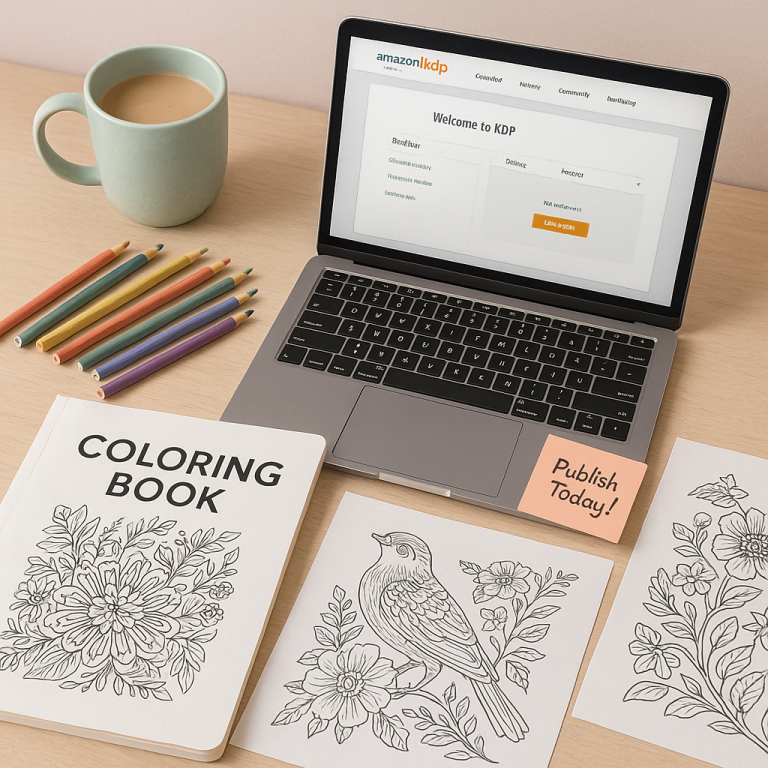
How to Format Your Coloring Book for Print (No Design Experience Needed)
Learn how to format you coloring book for print the easy way – even if you’ve never touched a design program before. Whether you’re a beginner self-publisher or just experimenting with your first printable product, this guide will walk you through the entire process step-by-step.
This guide will walk you through the entire process step-by-step, just like we do in The Ultimate Guide to Adult Coloring Books.
You’ll learn how to set up trim sizes, add bleed and margins, arrange your coloring pages, and export a professional print-ready PDF. No technical jargon, no graphic design degree required.
We’ll cover everything using beginner-friendly tools like Canva, PowerPoint, and free PDF software. Which means that by the time you finish this guide, you’ll be fully confident in preparing your coloring book for AmazonKDP, Gumroad, or your own website. Let’s start turning those awesome pages into a polished book ready for print!
Before diving in, here’s a quick overview of everything that we are about to cover inside of this guide. Whether you’re using Canva, PowerPoint, or just Word, this breakdown will help you understand every key step in formatting your coloring book for professional print – fast and frustration-free.
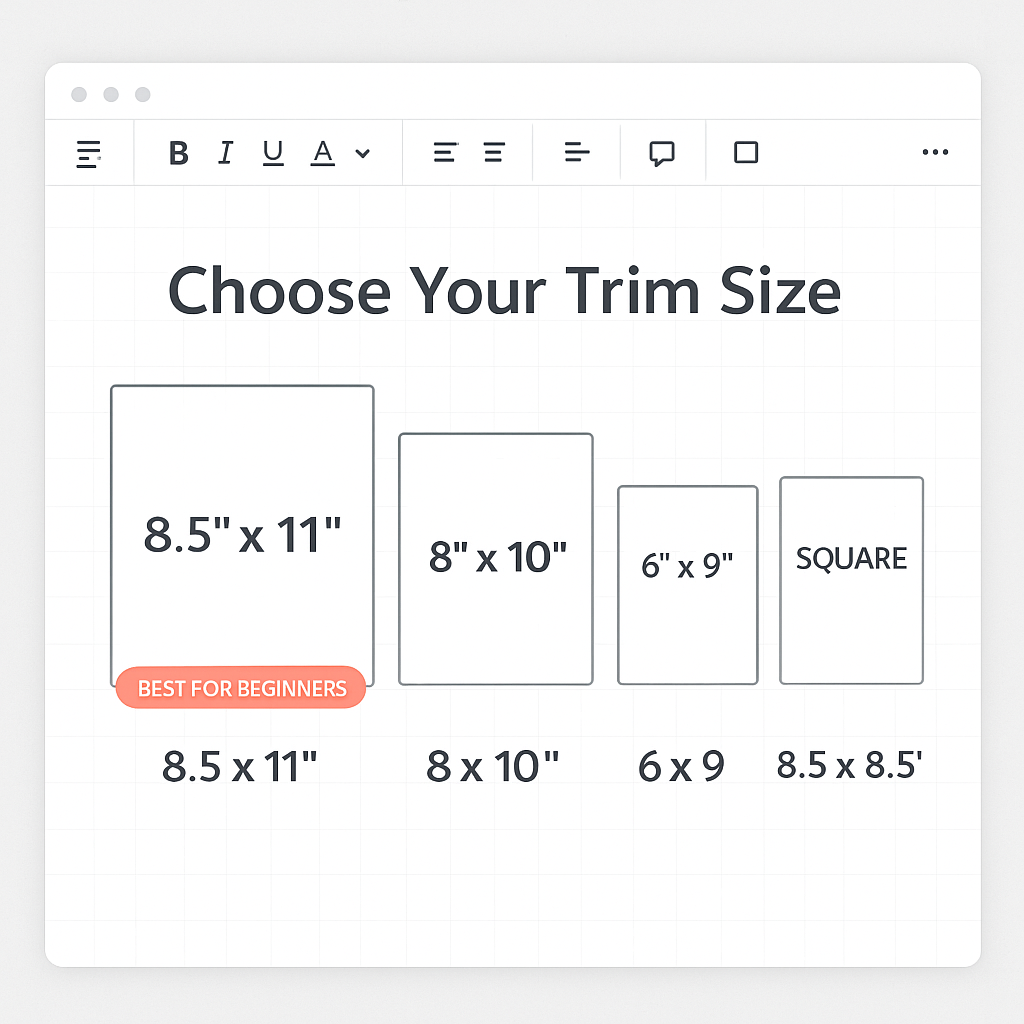
Choose Your Trim Size
Choosing the right trim size is the first step to making your coloring book look polished and professional. Trim size refers to the final dimensions of your printed book, and it can affect everything from how your pages are laid out to how they appear in search results. While Amazon KDP and print-on-demand platforms offer a variety of options, the most beginner-friendly size is 8.5″ x 11″. This standard size is easy to design, format, and print – plus it gives your customers plenty of room to color.
You can view all standard dimensions in the Amazon KDP trim size chart.
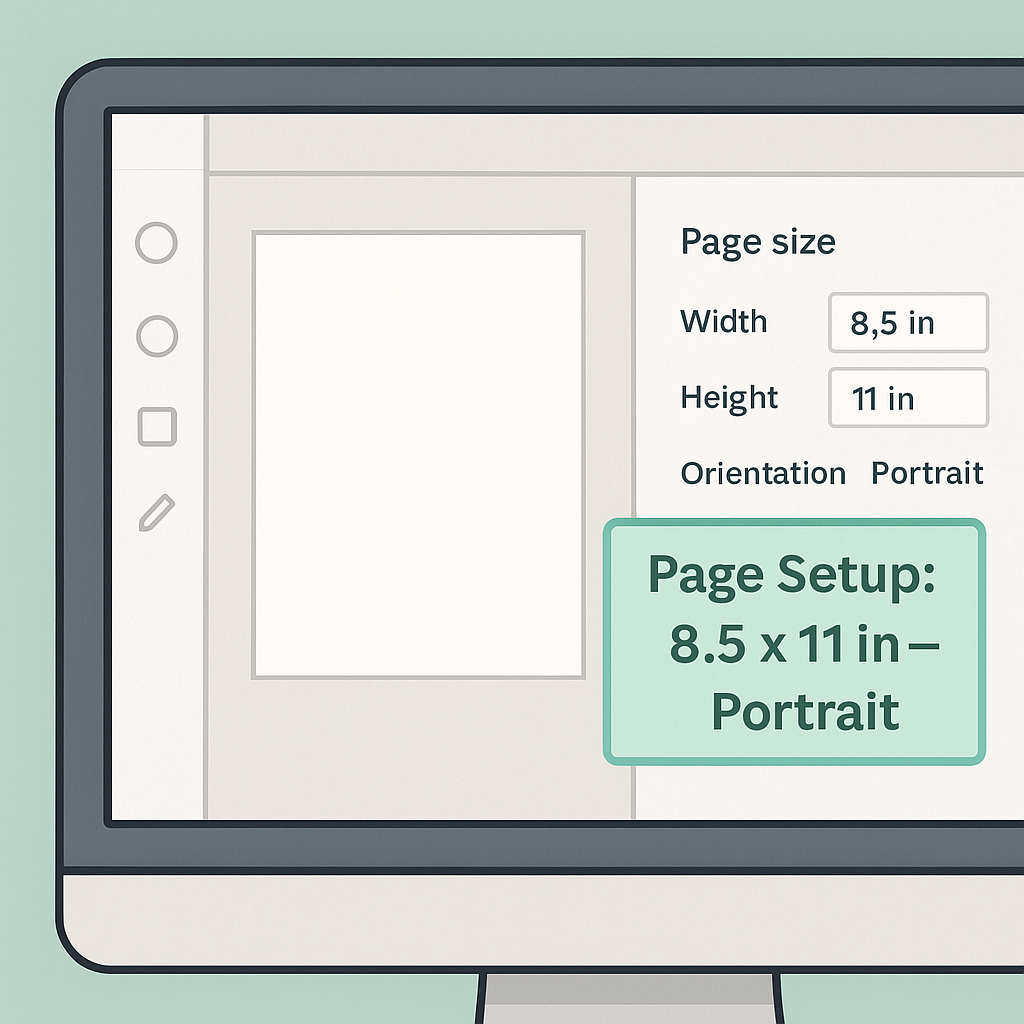
Set Up Your Pages
Once you’ve chosen your trim size, the next step is setting up your pages to match the format. This includes adjusting your document dimensions, orientation, and resolution to meet print-on-demand requirements. Whether you’re using Canva, PowerPoint, or Adobe tools, you’ll want to start with a blank page that matches your selected trim size. Setting up your pages correctly from the beginning saves tons of time and prevents formatting issues later when it’s time to export.
These settings will also prepare your file for formatting your coloring book for Amazon KDP, so you don’t have to redo the layout later.
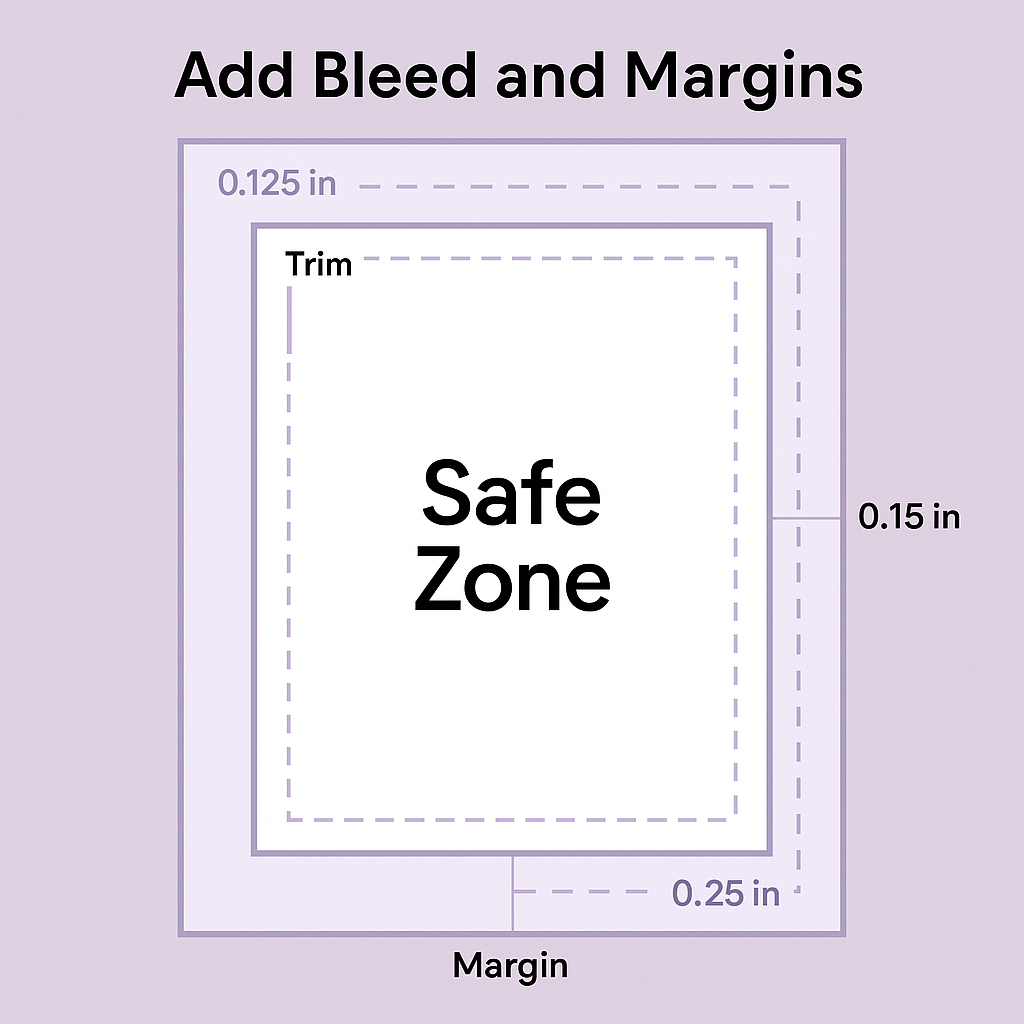
Adding Bleed and Margins
Bleed and margins are essential for giving your coloring book a clean, professional look. Bleed ensures that artwork extends all the way to the edge of the page without leaving a white border when trimmed. Margins, on the other hand, protect your artwork from getting cut off or lost in the binding. For Amazon KDP and most print-on-demand platforms, a 0.125″ bleed and 0.25″ margin on all sides is standard. Setting these properly at the beginning helps avoid design headaches and printing issues later.

Format Your Coloring Pages Correctly
Your coloring pages are the heart of your book, so formatting them correctly is critical. Each image should be high-resolution (at least 300 DPI), properly sized to match your trim, and centered on the page with enough breathing room. Avoid placing important design elements near the edges to prevent them from being trimmed off.
If your artwork includes detailed linework or borders, test print a few pages to check clarity and spacing. Keeping the images black-and-white with crisp outlines ensures they’ll print well on any home printer or publishing platform.
Adobe has a great reference on print resolution settings for PDF exports if you’re using InDesign.
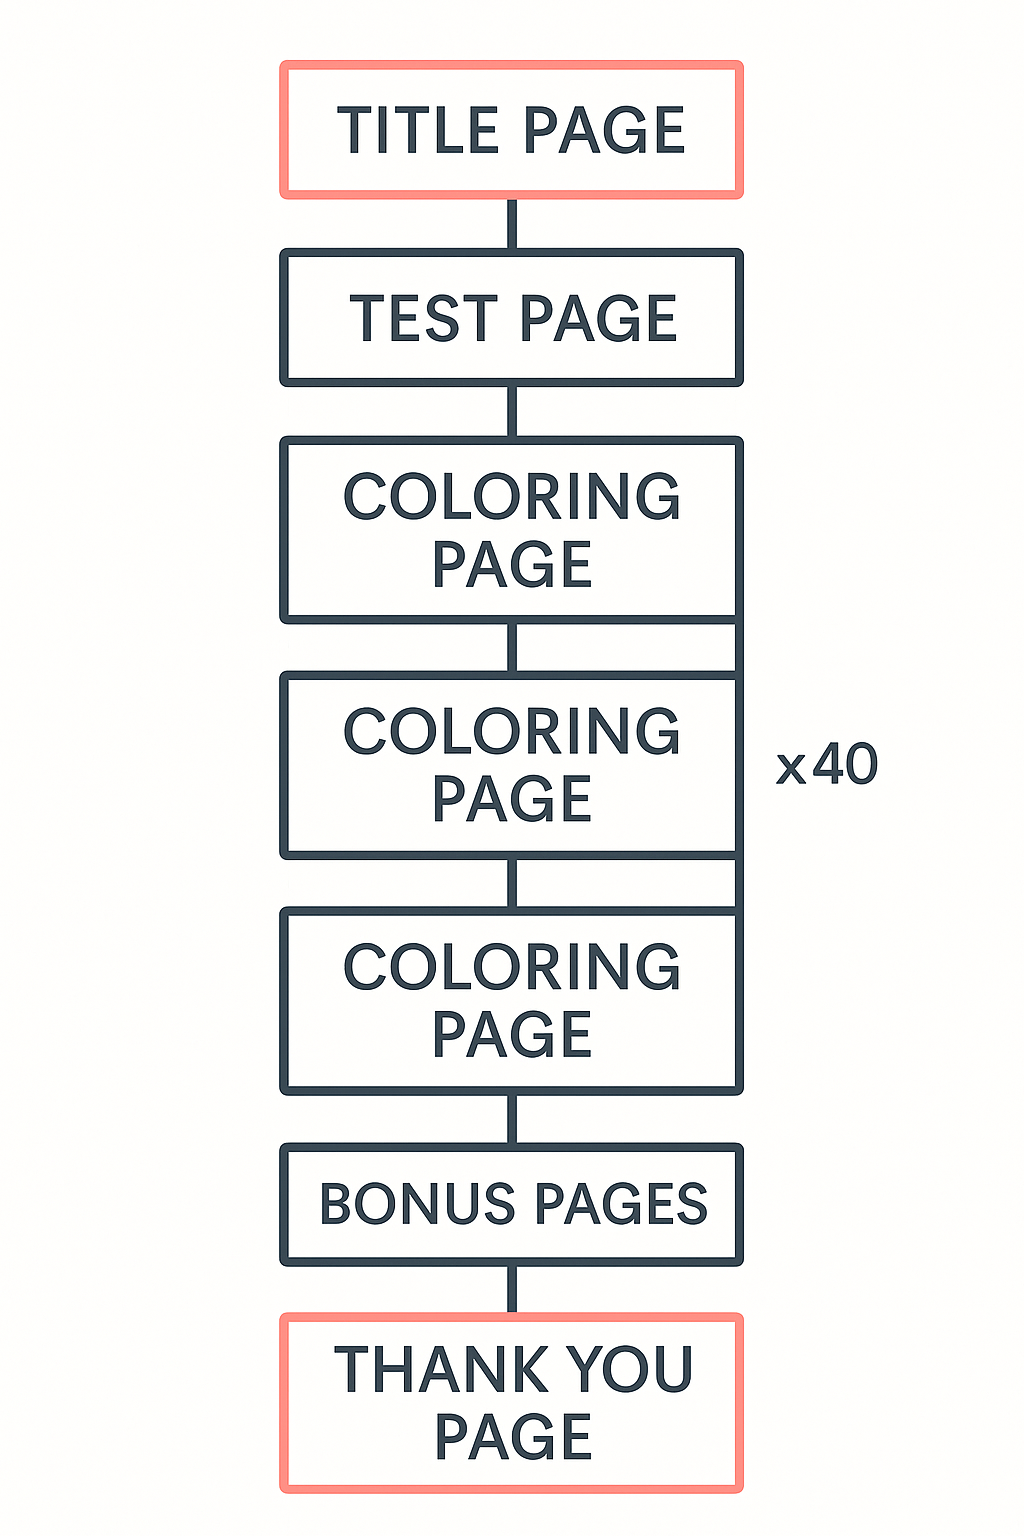
Arrange Your Book Interior
Now that you have your pages formatted, it’s time to arrange the interior of your upcoming coloring book. This is going to include organizing your title page, test page, main illustrations, and optional bonus pages in a way that flows naturally.
Most creators alternate coloring pages with blank backing pages to prevent bleed-through during coloring. It’s also helpful to keep your most detailed or favorite designs near the middle or end to leave a lasting impression. A well-structured layout not only improves usability but also makes your book look polished and professional.
Export a Print-Ready PDF
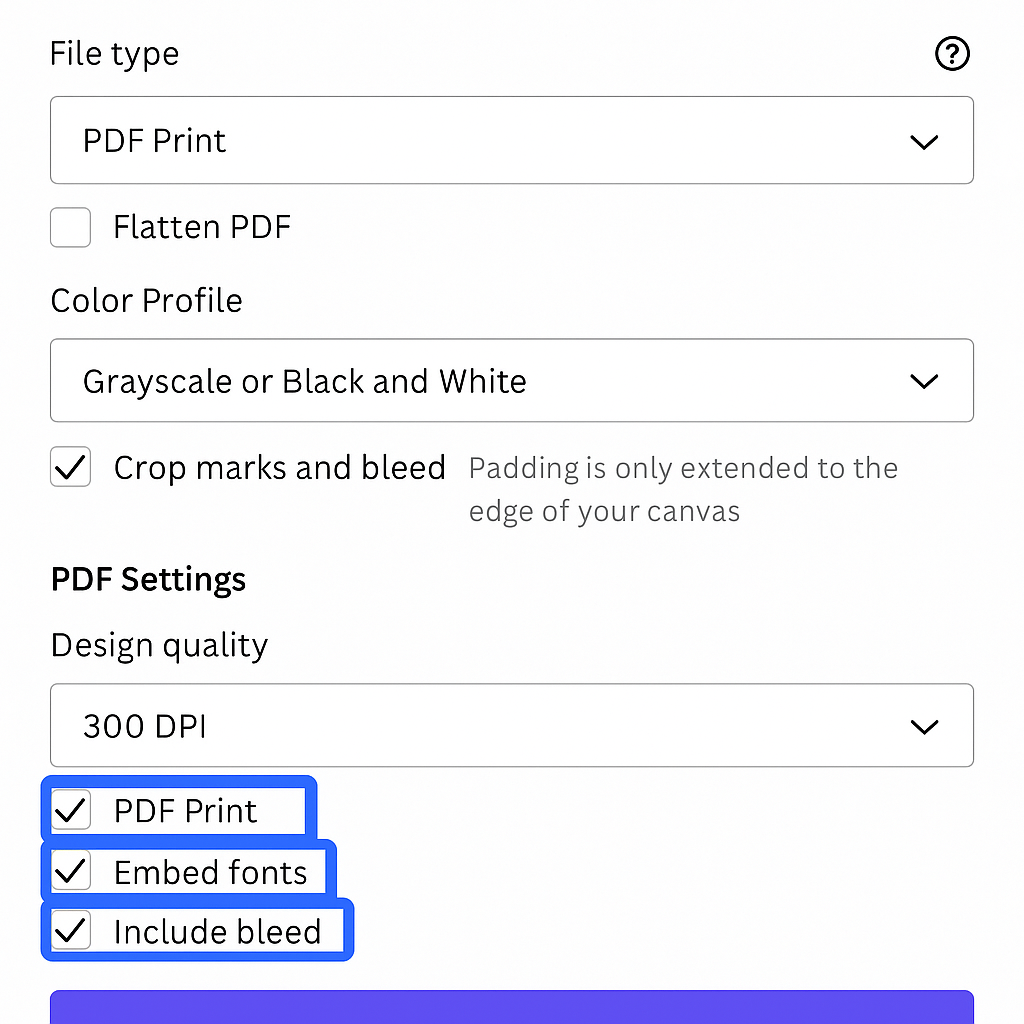
Once your coloring book interior is complete, it’s time to export everything into a print-ready PDF. This step is critical – incorrect export settings can cause image compression, color issues, or margin errors during printing.
Always export your file at 300 DPI in grayscale or black-and-white, and include the bleed if you’ve used one. Make sure all fonts are embedded and your file dimensions match the selected trim size. Whether you’re using Canva, PowerPoint, or Adobe tools, double-check every export setting before uploading to your print-on-demand platform.
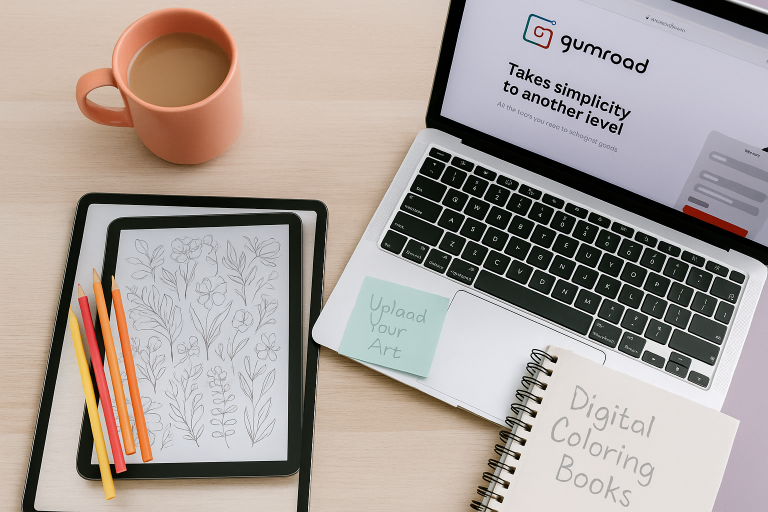
For a step-by-step walkthrough, check out how to export your Canva file in a print-ready format, which shows exactly how to use the “PDF Print” option, include bleed and crop marks, and switch to CMYK.
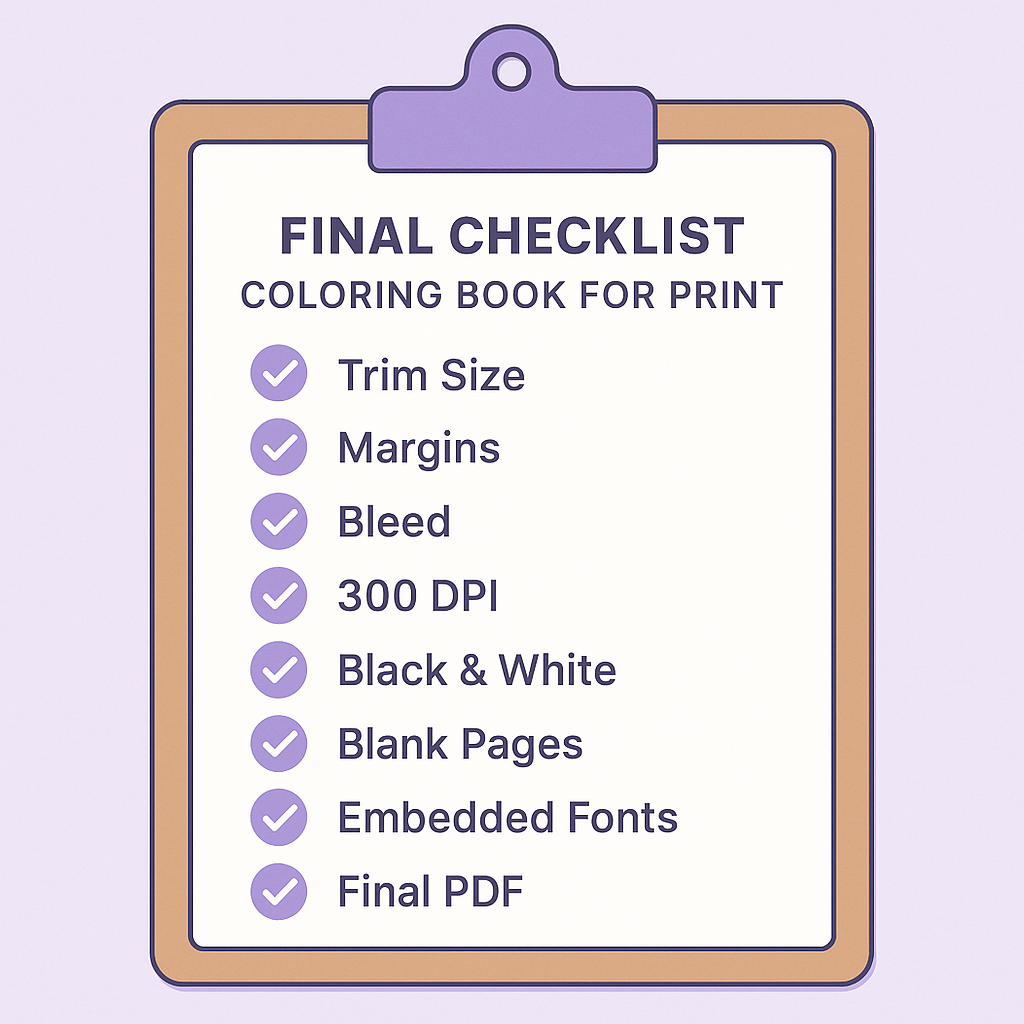
Final Checklist Before Uploading
Before you hit “Publish,” it’s smart to run through a final checklist. This quick review ensures your formatting, file settings, and layout are all print-ready and error-free. Double-check your trim size, bleed settings, and margins.
Confirm that all of your images are high-resolution, centered, and in black-and-white. Make sure blank pages are correctly placed, and your export file includes bleed and embedded fonts. Taking 10 extra minutes here can save you hours of troubleshooting and expensive misprints down the road.
🎨 Recommended Tool: Nurie Creator
Nurie Creator – NEW AI CLOUD-SOFTWARE:
Allows ANYONE to make THOUSANDS in passive income selling coloring books in ANY niche—FAST!
- No downloads, websites, or design skills required
- 100% AI-powered and online
- Includes built-in FREE buyer traffic
- No recurring fees or complex prompts
- Comes with a full case study and step-by-step video training