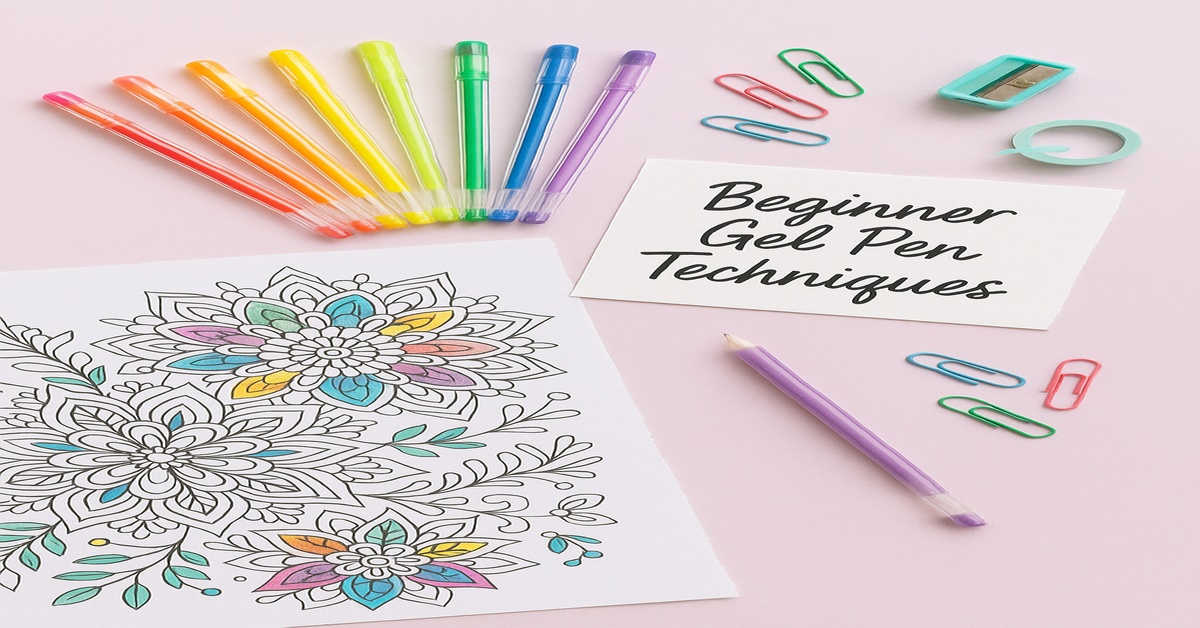
7 Gel Pen Techniques Every Beginner Should Know
Master the Magic of Gel Pens with These Beginner Techniques
Gel pens are more than just pretty colors – they’re a powerful tool for adding detail, shimmer, and style to your coloring pages. Whether you’re working on intricate mandalas or cute kawaii characters, learning how to use gel pens the right way can take your art from flat to fabulous. In this post, we’ll walk you through 7 must-know gel pen techniques that are perfect for beginners. No fancy tools required – just your favorite set of pens and a love for creativity. Let’s dive in and make your next coloring session smooth, vibrant, and fun!
This post may contain affiliate links. If you click and make a purchase, I may earn a small commission – at no extra cost to you. I only recommend products I truly believe in that support creativity and stress relief.
Before jumping into your masterpiece, test each gel pen on a scrap page. This helps you spot ink flow issues, see how the colors appear on paper, and avoid unexpected smudges—especially with metallics or glitter pens!
- Introduction
- Tip 1 – Use Light Pressure for Smooth Flow
- Tip 2 – Layering for Bold, Even Color
- Tip 3 – Blending with Gel Pens
- Tip 4 – Add Highlights with White Gel Pens
- Tip 5 – Create Textures with Stippling & Dashes
- Tip 6 – Use Glitter & Metallics for Accents
- Tip 7 – Fix Mistakes with a Blender or White Ink
- Final Thoughts + Free Download
Tip 1 – Use Light Pressure for smooth Flow
Gel pens are known for their silky ink, but pressing too hard can cause skips, blobs, or even damage your page. Light, steady pressure allows the ink to glide smoothly, giving you more control over your lines and preventing strain on your hand. If you’re used to pressing harder with ballpoint pens or pencils, this might take a little adjustment – but your coloring pages (and fingers) will thank you.

Let the pen do the work! If you notice the ink stuttering or skipping, slow down your stroke instead of pressing harder. Gel pens work best when you keep a steady pace and gentle touch.
Tip 2 – Layering for Bold, Even Color
Gel pens can sometimes appear streaky or thin with just one pass – especially lighter shades. The secret? Layering. Once the first layer dries completely, go over the same area with a second or even third coat using gentle pressure. This builds up the richness and opacity of the color, making it pop off the page without damaging the paper or causing smudges.
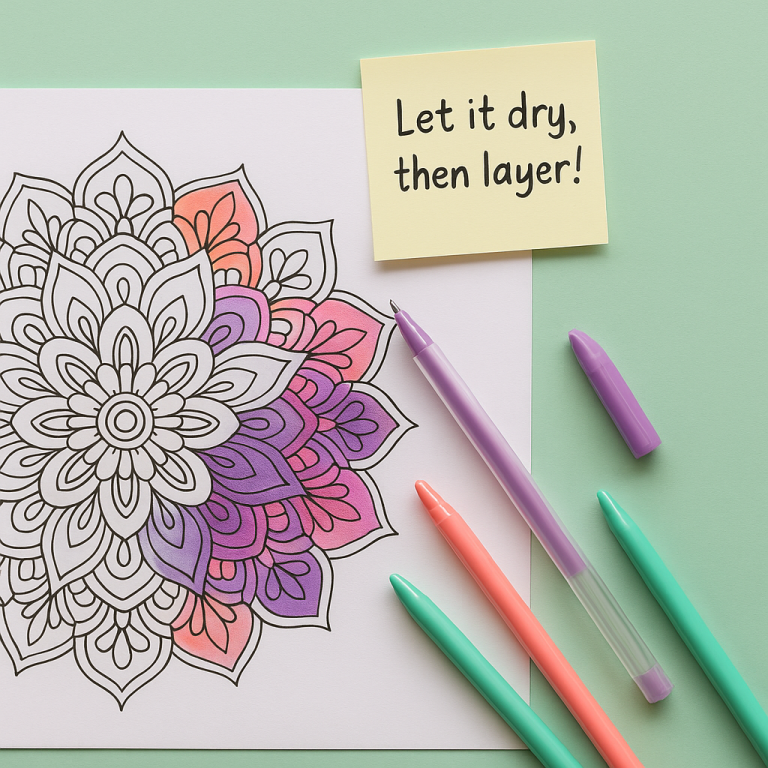
Always let each layer fully dry before applying the next. Rushing the process can lead to smears or tearing the page—especially with gel pens that have a wetter ink flow.
Tip 3 – Blending with Gel Pens
While gel pens don’t blend quite like markers or pencils, you can still create beautiful gradient effects with a little practice. The key is to work quickly while the ink is still wet and gently overlap your colors at the edges. Start with your lightest shade first, then add the darker tone and feather it inward using small circular strokes. With glitter and metallic pens, stick to adjacent tones to avoid harsh contrasts. You’ll be surprised how smooth a gel pan transition can look with the right technique!
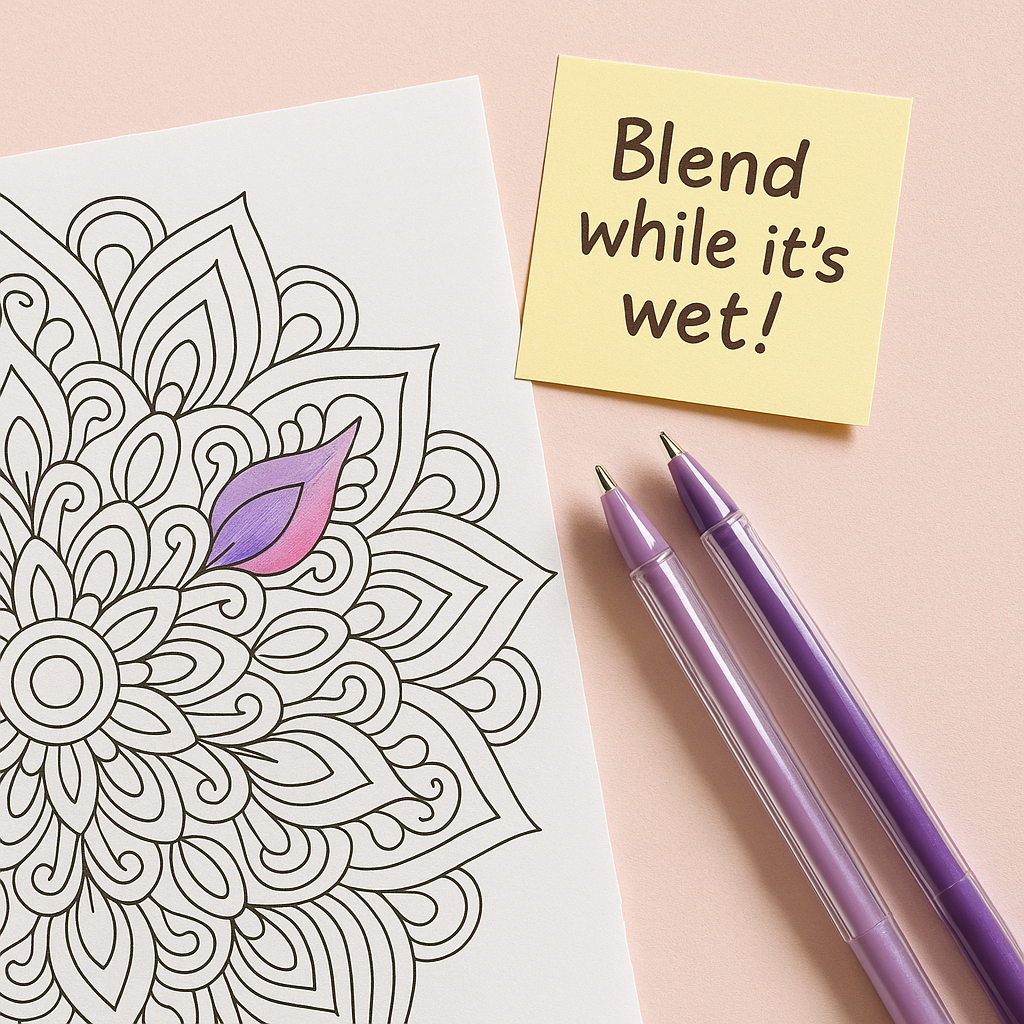
Try blending colors in the same family—like peach into coral or lavender into purple—for smoother transitions. Opposites can look choppy unless you plan a bold contrast.
Tip 4 – Add Highlights with White Gel Pens
White gel pens are your secret weapon for adding contrast, depth, and a little pop of magic to any coloring page. After you’ve filled in your base colors, use a white pen to draw tiny highlights on shiny objects, trace the edges of patterns, or add sparkle dots to eyes and accessories. These small touches create visual dimension and make your artwork feel more polished and professional – especially in dark or vibrant areas where white really stands out.
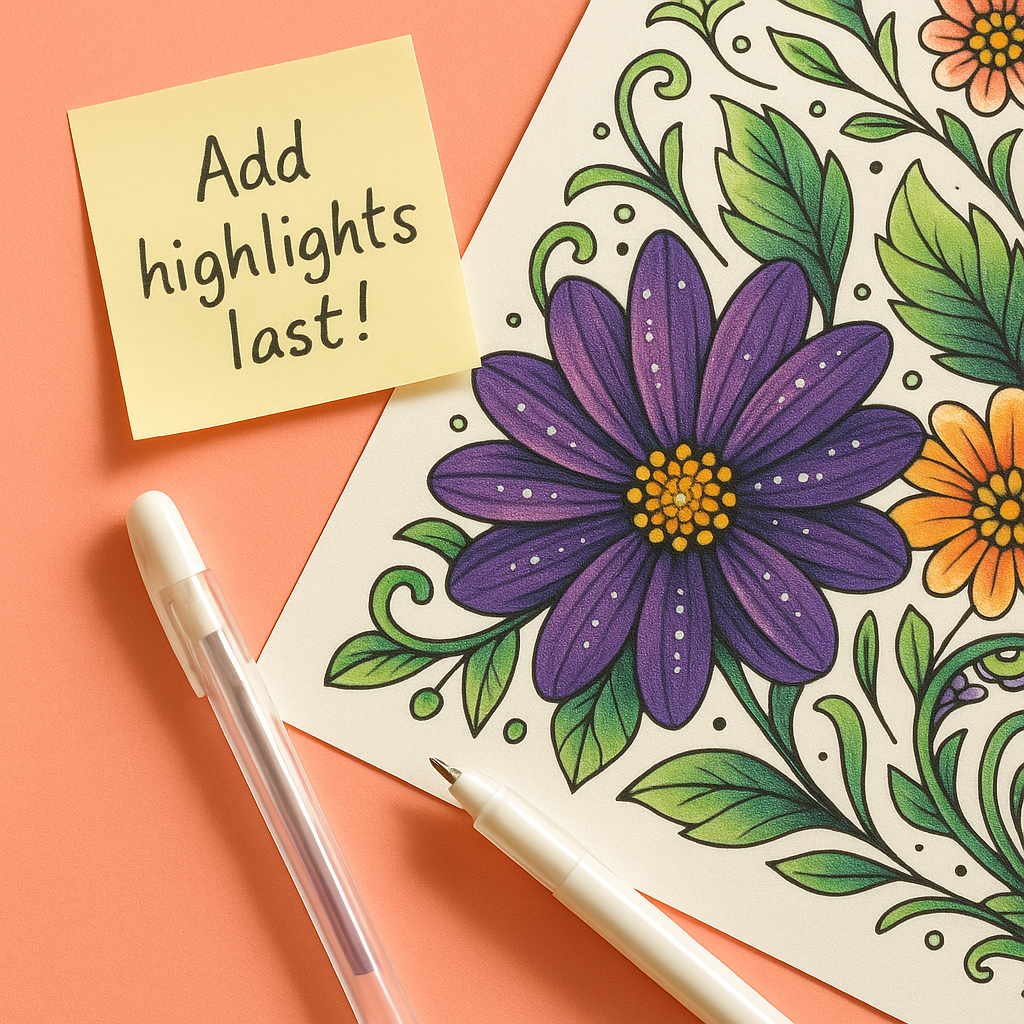
Use your white gel pen after all your other ink is fully dry. If you apply it too early, it may mix with underlying colors or get clogged with residue.
Tip 5 – Create Textures with Stippling & Dashes
Not everything needs to be filled solid! Using small dot patterns (stippling) or short dashes can create beautiful textures, shading, and even motion in your coloring. This is a great technique for backgrounds, fur, feathers, or magical sparkles. By adjusting the spacing and density of your marks, you can simulate depth or even a glowing effect – especially when working with metallic or glitter pens. It’s also a fun way to experiment without the pressure of perfect coloring.
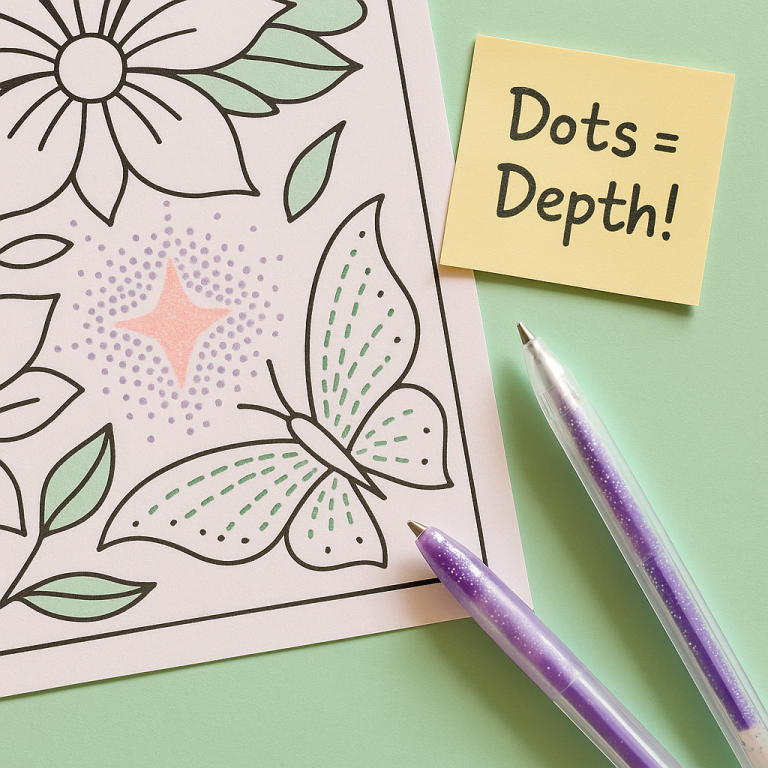
For a glowing texture, place your dots closer together near the center of a shape and space them out as they move outward.
Tip 6 – Use Glitter & Metallics for Accents
Glitter and metallic gel pens are the perfect tools for drawing attention to specific parts of your artwork. Instead of coloring entire areas with them, try using these pens as accents – trace outlines, fill small patterns, or highlight jewelry, stars, or magical elements. Their sparkle can elevate your page without overwhelming the design, especially when paired with matte colors. A little shimmer goes a long way in making your coloring pages pop!
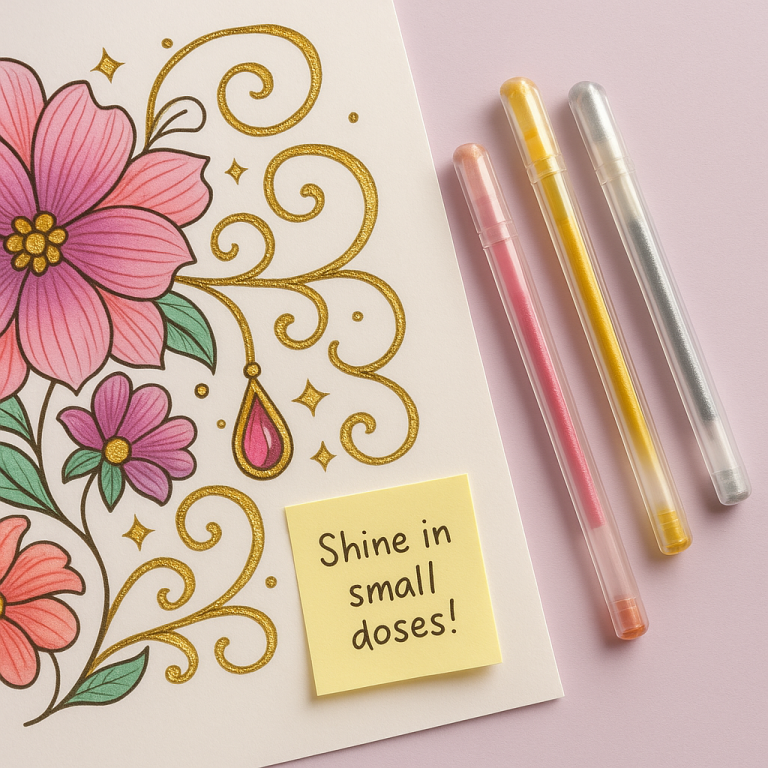
Use glitter gel pens to accent the edges of shapes or dots within patterns. They shine brightest when used sparingly next to dark or neutral colors.
Tip 7 – Fix Mistakes with a Blender or White Ink
Even the most careful artists make mistakes – but the good news is, gel pens are more forgiving than you might think. You can gently “erase” small smudges or stray marks using a colorless blender pen or a white gel pen for cover-up. These tools are perfect for sharpening edges, covering ink bleeds, or even brightening up areas that look too dark. It’s a smart way to save a page without having to start over.
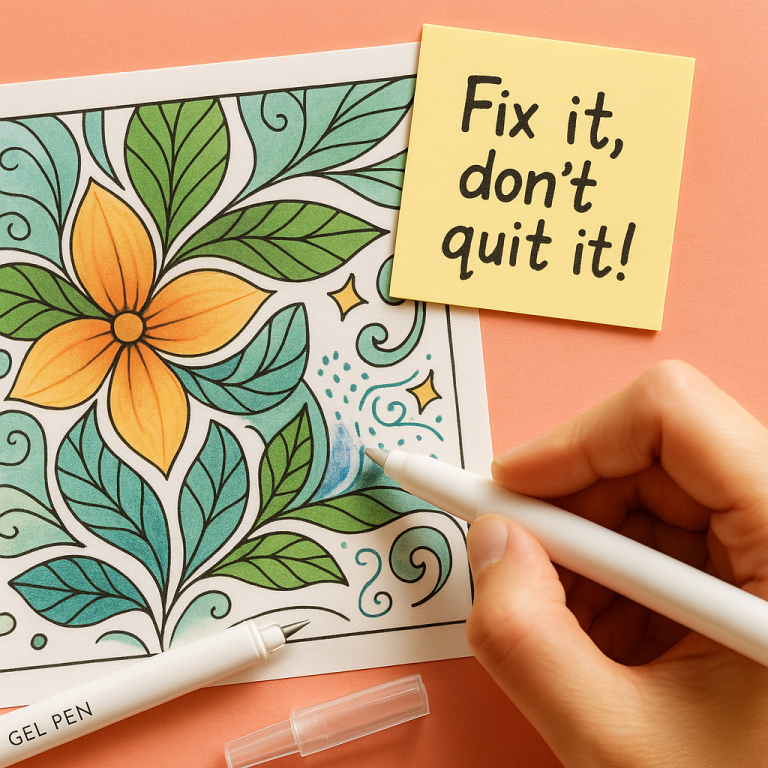
Always test your fix-it pen on a separate sheet first. Some white gel pens dry transparent on darker colors—and you want that mistake to stay hidden!
Final Thoughts + Free Download
Gel pens aren’t just fun – they’re incredibly versatile tools that can help you bring your coloring pages to life. From smooth gradients and subtle highlights to glittery accents and mistake fixes, there’s a whole world of technique waiting to be explored. Whether you’re just starting or looking to add more flair to your finished pieces, these beginner-friendly tips will set you on the path to coloring confidently.
Want to try these techniques right away?
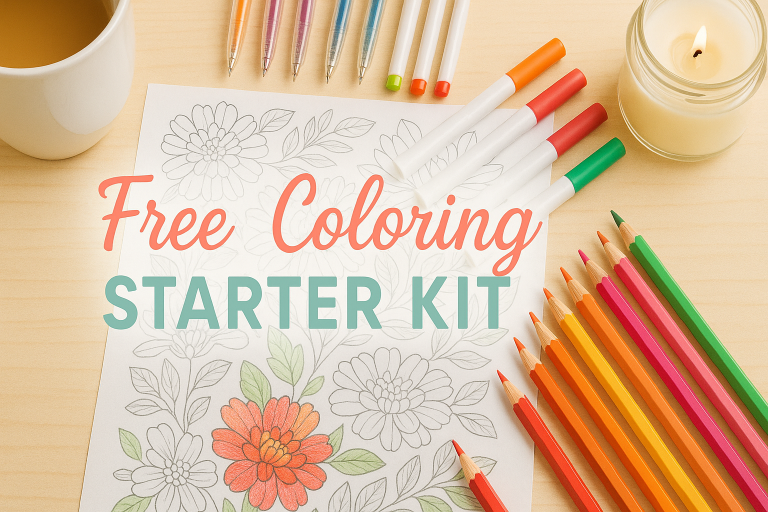
Download 3 Free Gel Pen-Friendly Coloring Pages Here – Perfect for testing pressure, blending and accents!
Get instant access to our printable gel pen test sheets and starter pages—designed specifically for smooth blending, glitter accents, and more. No sign-up required!